
HOW TO USE SEALING WAX BEADS
Beaded wax is one of the more traditional wax types. We love this particular type of wax for its creative freedom, allowing you to mix wax colours and create various effects in your wax seals such as marbling. Along with being very simple to use, another aspect of wax beads that's enjoyable is how therapeutic it is to use them. Watching the marble melt, pouring it and creating your impression is a surprisingly meditative task.
Things you'll need:
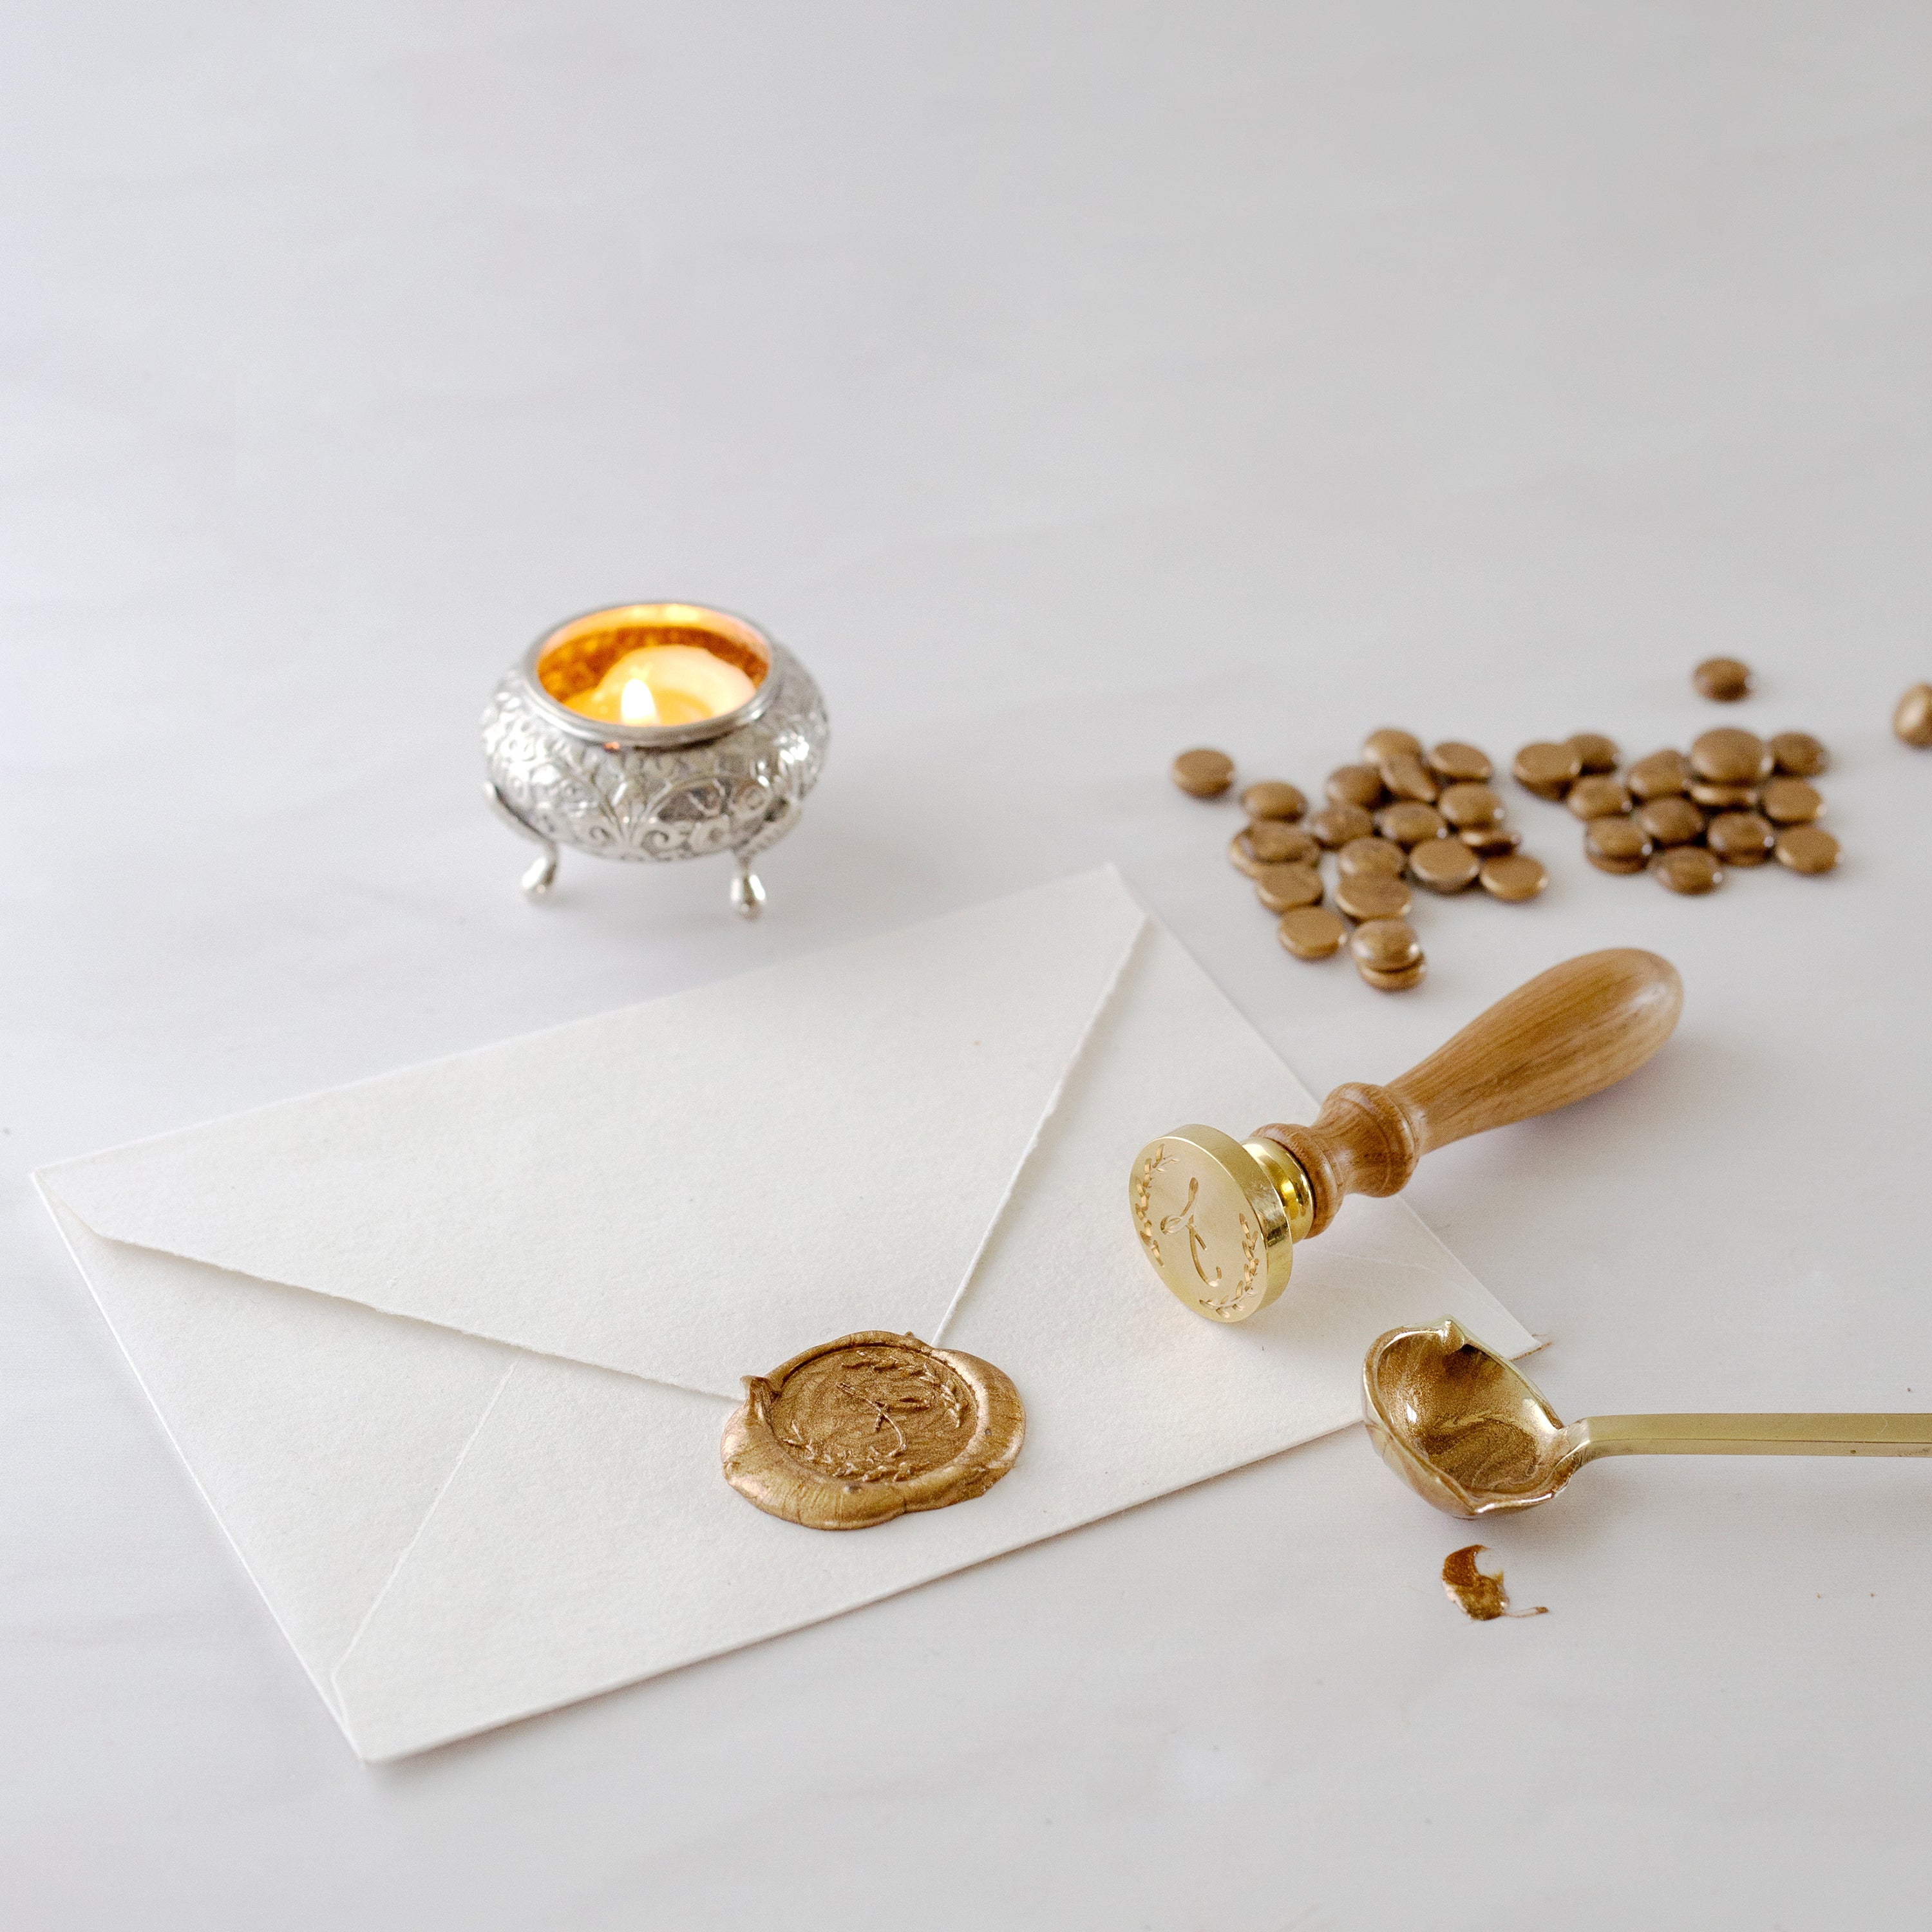
• A brass spoon
• Sealing wax beads
• A candle - We recommend a soy wax candle to ensure you have a soot-less flame.
• Your wax stamp
• Items you wish to seal
Step One
Light your candle, add some wax beads to your spoon and hold your spoon over the flame to melt the wax. Use different colours of beads to create a marble effect. You can use the end of a match stick to stir the wax to quicken the melting process.
Tip: Don't hold your spoon too close to the flame as the bottom of the spoon will go black and might alter the colour of your wax!

 Step Three
Using your wax stamp, make your impression on the pool of molten wax leaving it to rest in the wax for a couple of seconds before removal. Don't forget to make sure your stamp is the right way up!
 Step Four
Remove your stamp from the wax and your seal is complete!
 We hope you find this post helpful for creating your beautiful wax impressions. For more step-by-step guides to getting the most out of your sealing wax click here and, as always, feel free to get in touch with any questions. We'd be delighted to hear from you!
Things you'll need:
• A brass spoon
• Sealing wax beads
• A candle - We recommend a soy wax candle to ensure you have a soot-less flame.
• Your wax stamp
• Items you wish to seal
Step One
Light your candle, add some wax beads to your spoon and hold your spoon over the flame to melt the wax. Use different colours of beads to create a marble effect. You can use the end of a match stick to stir the wax to quicken the melting process.
Tip: Don't hold your spoon too close to the flame as the bottom of the spoon will go black and might alter the colour of your wax!
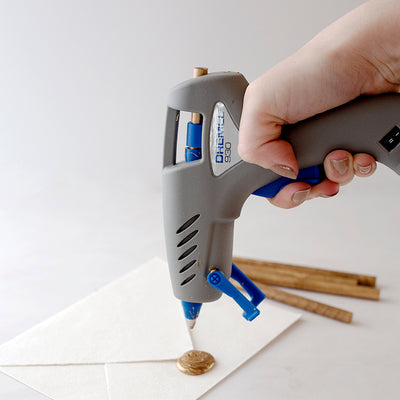
Step Two
Once the wax has melted, pour directly onto the item you wish to seal.
Tip: Don't heat your sealing wax too much. If the wax starts to bubble then allow it to cool a little before pouring. Wax that is too hot can cause bubbles along the edge of the seal, as well as a flat edge. Ideally, you're looking for a consistency that looks almost sticky rather than runny.
Using your wax stamp, make your impression on the pool of molten wax leaving it to rest in the wax for a couple of seconds before removal. Don't forget to make sure your stamp is the right way up!
Remove your stamp from the wax and your seal is complete!